WooCommerce Integration Steps
STEP 1: Install and Configure PayPlan Extension
Installation Steps
- You can install the PayPlan Extension by first navigating to THIS LINK and downloading the .zip file in the folder.
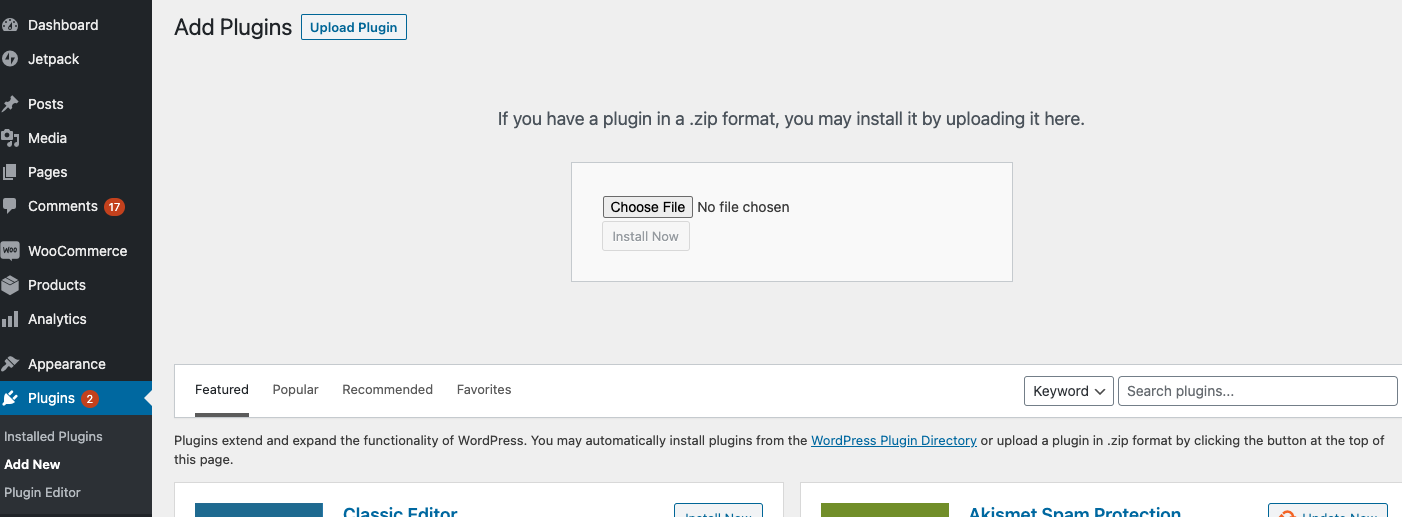
- Upload the extension manually via the Plugins section within your WooCommerce admin, and upload the .zip file from the step above.

- After the plugin is installed it should show up in your Wordpress Admin dashboard under Plugins > Installed Plugins. Click “Activate” to activate the PayPlan plugin.
Plugin Settings And Configuration
In this section we will first walk through the steps to get PayPlan working on your WooCommerce site. There will be information on the different configuration options found at the bottom of the section.
Find the PayPlan plugin’s settings in the Wordpress Admin dashboard by:
- Going to Plugins > Installed Plugins, finding the "PayPlan by RBC" plugin and clicking “Settings”

- Check the “Enable this gateway” box
- Under "API Settings", choose the 'Sandbox` as the Environment for testing
- Enter your Sandbox API Key, Secret Key, and Integration Key in their respective fields. You can access these keys within the Account Settings section of your PayPlan Merchant portal.
- To enable PayPlan placements on Product, Cart, and Category pages, toggle on the appropriate settings under their respective sections and specify their locations.
- Go to the “Checkout Page Options” and ensure the
Enable RBC Payplan as a payment option on the checkout page.button is checked. - After making these changes click “Save changes”.
STEP 2: Test The PayPlan Extension
We strongly recommend you test your integration with your Preview API and Integration keys before pushing PayPlan live on your production site. You can leverage the following dummy data when testing PayPlan in Preview mode.
- Any name and email
- Any Canadian address
- Mobile Number: A random sequence of 10 digits
- Birth Date: A birth date before 2000
- Mobile Code / Token: 1234
- Any Employment type
Note: You will not receive emails nor text messages when testing in Preview mode.
STEP 3: Going Live With PayPlan
In order to go from a sandbox to a live environment you will need to switch to a Production environment and insert the proper API keys.
- Go down to the API Settings section and change the
Environmentfrom “Sandbox” to “Production”. - Enter your Production API Key, Secret Key, and Integration Key in their respective fields. (Your API and Secret keys can be found in the PayPlan Merchant Portal, while the Integration Key will be provided separately by your account manager)
- After making these changes click “Save changes”.
Updated 12 months ago
